You know the disappointment: You dig into a plate of nachos, and half the chips are naked while the other half are drowning in toppings. We’ve all been there, fighting over the “good” chips at the bottom while the dry ones sit abandoned. But what if I told you there’s a foolproof method to ensure every single chip gets the love it deserves?
The secret isn’t magic—it’s strategy. And once you learn this simple layering technique, you’ll never go back to mediocre nachos again.
The Golden Rule: Layer Like Your Life Depends On It
Here’s where most people go wrong: they pile all the chips on a pan, dump everything on top, and hope for the best. The result? A nacho wasteland where only the top layer gets any action.
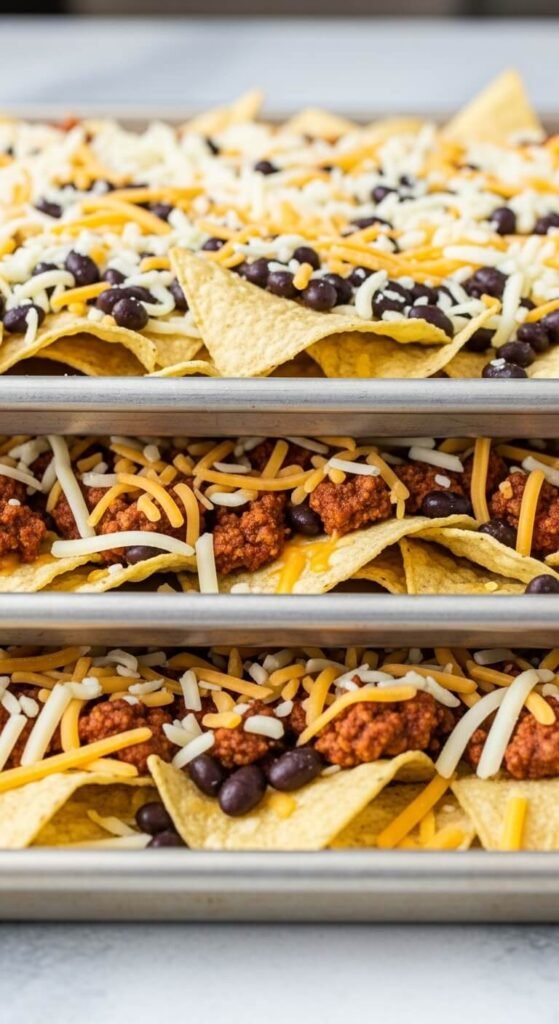
The solution is deceptively simple: build your nachos in layers. Think of it like lasagna, but way more fun.
Here’s how it works:
- Layer 1: Spread a single layer of chips across your baking sheet
- Add toppings: Distribute cheese, beans, meat, and veggies evenly
- Layer 2: Add another layer of chips on top
- Repeat: More toppings, ensuring coverage on every chip
- Layer 3 (optional): One more round if you’re feeling ambitious
This technique guarantees that every chip—from top to bottom—gets its fair share of the goods.
Choose Your Chips Wisely
Not all tortilla chips are created equal for nacho-making. You want chips that can handle the heat (literally) without turning into a soggy mess.
Best chip characteristics:
- Thick and sturdy: Restaurant-style chips work best
- Lightly salted: You’re adding plenty of flavor, so don’t overdo it
- Uniform size: Makes layering easier and looks better
Pro tip: Avoid ultra-thin chips that’ll disintegrate under the weight of toppings. Save those for dipping.
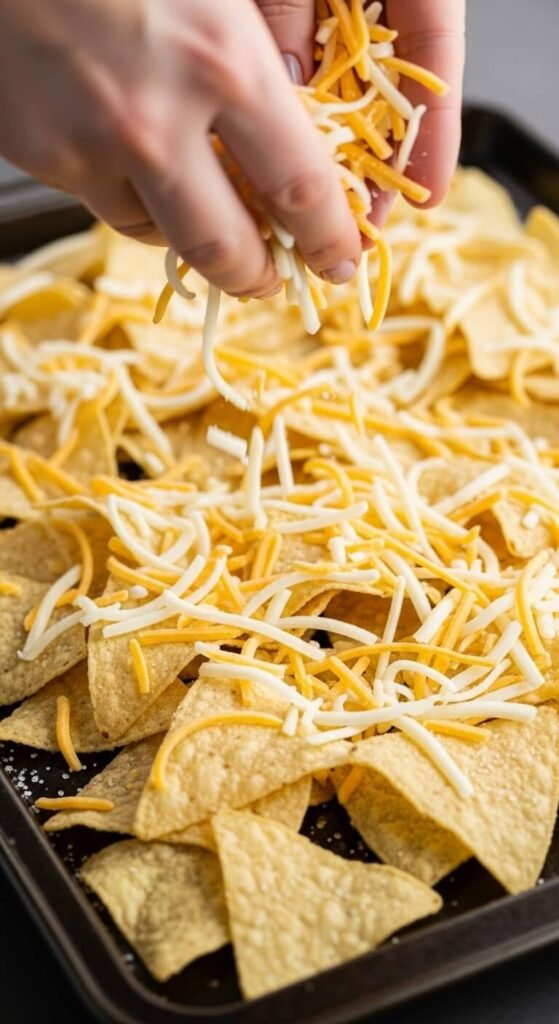
The Perfect Cheese Strategy
Cheese is the glue that holds your nacho dreams together—literally. But the type and method matter.
Best cheeses for even coverage:
- Shredded cheese blends: Mexican blend or cheddar melt evenly
- Small shreds: Distribute better than large chunks
- Real cheese: Skip the nacho cheese sauce for layering (save it for drizzling at the end if you want)
Sprinkle cheese generously on each layer, making sure to get coverage near the edges. Don’t just pile it in the center—spread the wealth!
Temperature and Timing Are Everything
The difference between perfect nachos and disappointing ones often comes down to oven technique.
The perfect bake:
- Preheat to 375°F: Not too hot, not too cool
- Bake for 10-12 minutes: Until cheese is melted and bubbly
- Watch carefully: The line between golden and burnt is thin
- Use the middle rack: For even heat distribution
If you’re adding delicate toppings like fresh jalapeños or tomatoes, add them halfway through baking so they don’t dry out.
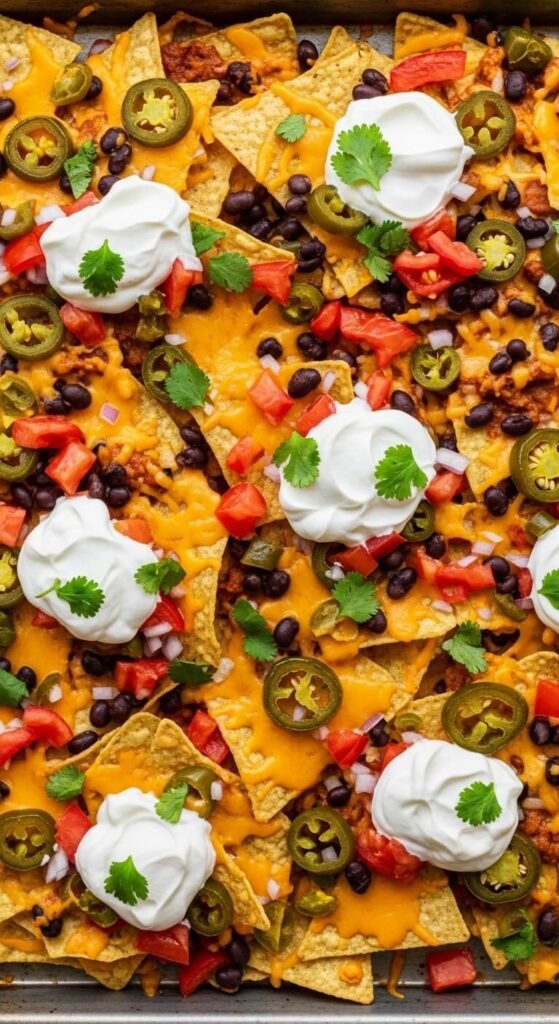
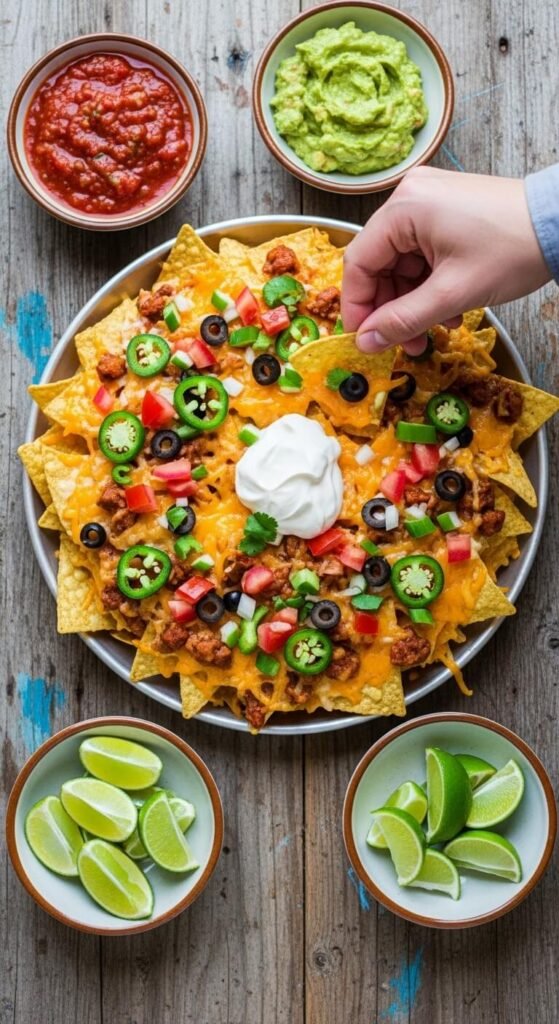
The Fresh Topping Finale
Once your layered nachos come out of the oven, it’s time for the grand finale: the fresh toppings that add brightness and texture.
Add these AFTER baking:
- Sour cream or Mexican crema (dolloped evenly)
- Fresh pico de gallo or diced tomatoes
- Sliced avocado or guacamole
- Chopped cilantro
- Pickled jalapeños
- Thinly sliced green onions
- A squeeze of fresh lime
The key here is distribution. Use a spoon to place small amounts across the entire pan rather than dumping everything in one spot.
[Image Prompt] A wooden spoon dolloping white sour cream across a pan of hot, freshly-baked nachos with melted cheese and toppings, steam rising from the dish.
The Assembly Cheat Sheet
Let’s put it all together for nacho perfection:
- Prep all ingredients before you start (mise en place, baby!)
- Layer chips and hot toppings (cheese, beans, meat) in 2-3 rounds
- Bake until bubbly and golden around the edges
- Immediately add cold toppings while nachos are hot
- Serve on the pan to keep everything warm
Remember: Nachos are best enjoyed immediately. The clock starts ticking the moment they leave the oven.
Your Perfect Nacho Future Awaits
No more fighting over the loaded chips. No more dry, sad corners. Just perfectly balanced nachos where every single bite delivers the full experience you deserve.
The layering method takes just a few extra minutes but transforms your nachos from amateur hour to restaurant-quality. Your game day guests, movie night crew, or Tuesday-night-just-because self will thank you.
Save this recipe for your next nacho craving—because once you go layered, you’ll never go back!