Forget the deep fryer — you don’t need a vat of hot oil to get shatteringly crispy chicken wings. With one secret ingredient and the right oven technique, you can pull off golden, crackly wings that rival your favorite sports bar, all from the comfort of your own kitchen. No splatter. No soggy skin. Just pure, delicious crunch.

The Secret: Baking Powder (Not Baking Soda!)
This is the game-changer that most people miss. Baking powder — not baking soda — is the key to crispy oven wings. Here’s why it works:
- It raises the pH level of the chicken skin, which speeds up browning.
- It draws out moisture from the surface, creating a drier skin that crisps up fast.
- It forms tiny air bubbles during baking, giving the skin that light, bubbly crunch.
Use 1 teaspoon of baking powder per pound of wings, and always make sure it’s aluminum-free to avoid any metallic aftertaste.
What You’ll Need
Ingredients:
- 2 lbs chicken wings (split into flats and drumettes)
- 1½ tsp aluminum-free baking powder
- 1 tsp kosher salt
- ½ tsp garlic powder
- ½ tsp smoked paprika
- ¼ tsp black pepper
- Your favorite sauce for tossing (buffalo, honey garlic, or BBQ)

Step-by-Step: How to Bake Crispy Wings
Step 1 — Pat the Wings Completely Dry
This step is non-negotiable. Use paper towels to blot every single wing until no moisture remains on the surface. The drier the skin going into the oven, the crispier your result. If you have time, leave the wings uncovered in the fridge for 1–8 hours after drying — this air-drying step is a total cheat code.
Step 2 — Toss with the Baking Powder Mixture
In a large bowl, combine the baking powder, salt, garlic powder, paprika, and pepper. Add the wings and toss until every piece is evenly coated. Don’t skip a spot — uncoated areas won’t crisp the same way.
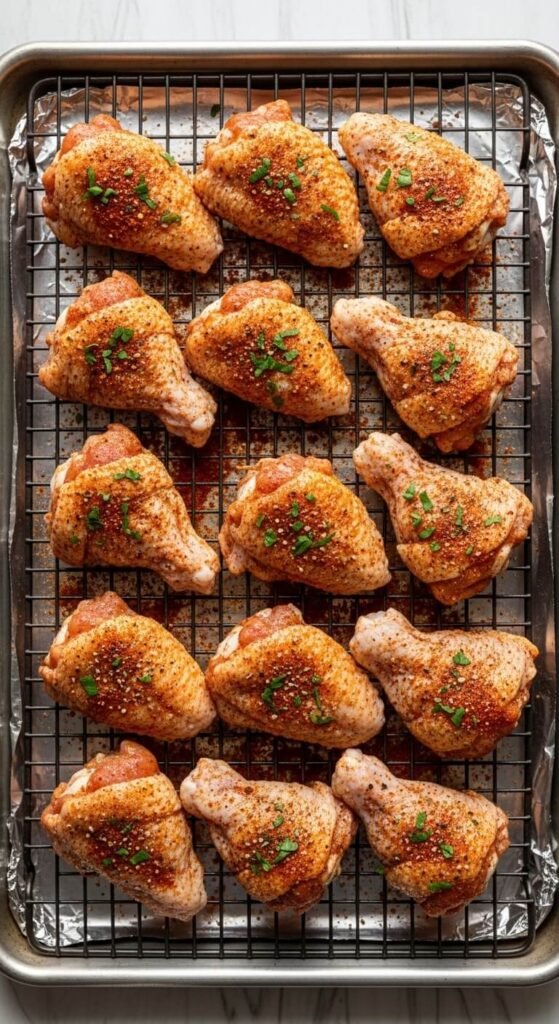
Step 3 — Use a Wire Rack (This Is Critical)
Place a wire rack on top of a foil-lined baking sheet. Arrange the wings in a single layer with space between each piece. The rack lifts the wings off the pan so hot air circulates underneath, crisping the bottom just as well as the top.
Step 4 — Bake Low, Then Blast High
- First: Bake at 250°F (120°C) for 30 minutes. This low-and-slow phase renders out the fat hiding under the skin, setting you up for maximum crunch.
- Then: Crank the heat to 425°F (220°C) and bake for 40–45 more minutes, flipping once at the halfway point.
This two-stage method is the difference between almost crispy and actually crispy.
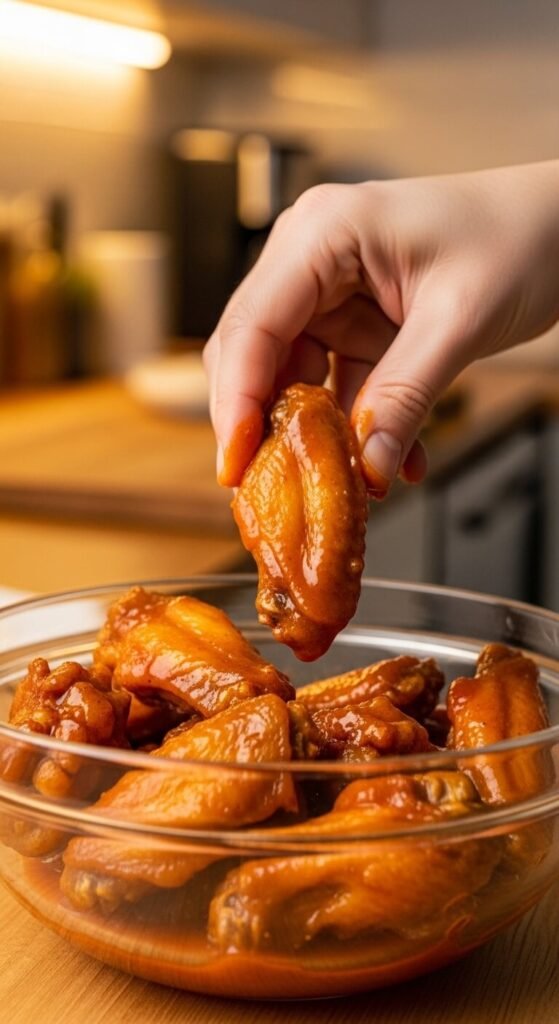
Step 5 — Sauce After Baking, Not Before
If you add sauce before the oven, you’re essentially steaming the skin — which is the opposite of what you want. Bake the wings naked, pull them out when they’re golden and crackling, then toss them in your sauce of choice.
Pro Tips for Extra Crispy Wings
- Don’t crowd the pan. Crowded wings steam each other. Use two racks if needed.
- Let them rest on the rack for 5 minutes after baking — the skin firms up even more.
- Reheat leftovers in the oven, not the microwave, to bring the crunch back.
- Cornstarch works too — swap baking powder for cornstarch for a slightly different but equally crispy result.
The Crispy Wing You Didn’t Know You Could Make at Home
Once you try this method, you’ll never go back to soggy oven wings again. The two-stage bake, the wire rack, the baking powder — it all comes together to give you wings that are juicy inside, crackly outside, and completely addictive.
Whether you’re hosting game day or just treating yourself on a Tuesday night, this recipe delivers every single time.
Save this recipe for later and share it with your fellow wing lovers — your next batch of crispy, oven-baked wings is just a few steps away! 🍗