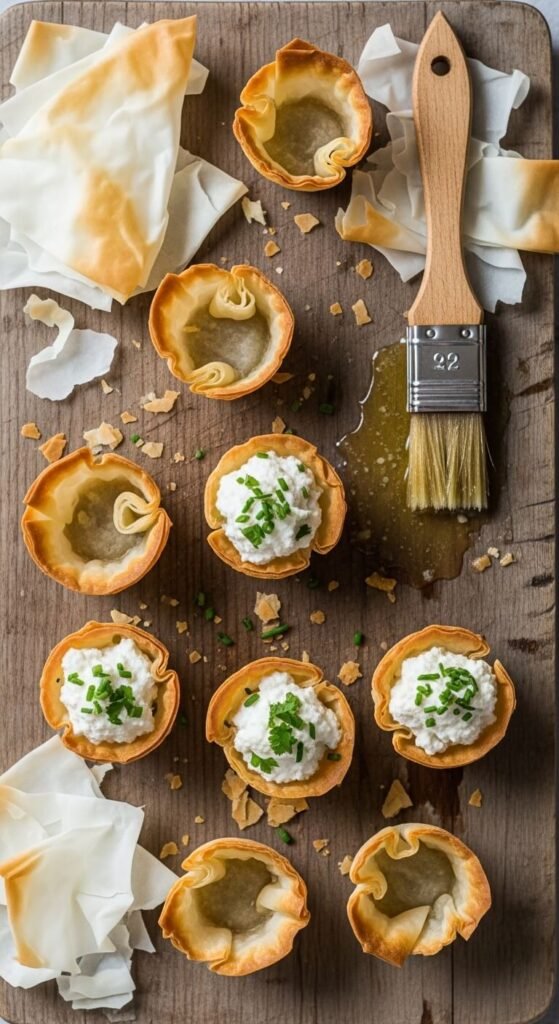
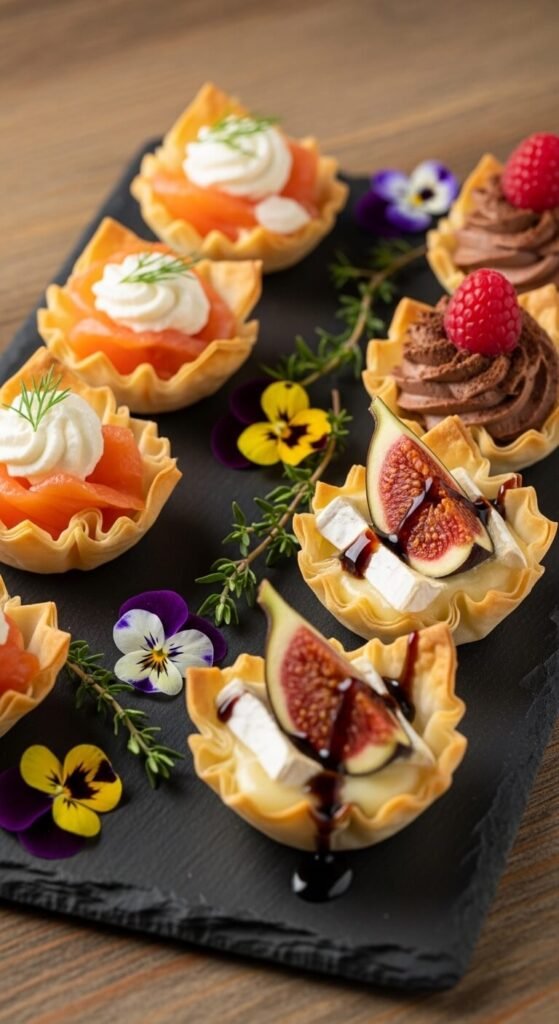
You’ve seen them at every elegant party — those perfectly golden, bite-sized phyllo cups cradling creamy fillings, crispy toppings, or sweet mousse. They look effortless. But if you’ve ever tried making them at home, you know the heartbreak of a shattered shell or a soggy, collapsing cup the moment you pick it up. Good news: it’s not you — it’s technique. And once you nail it, you’ll be making flawless phyllo cups on repeat.
What Makes Phyllo Dough So Tricky
Phyllo (also spelled “filo”) is tissue-thin pastry dough with almost zero moisture tolerance. It dries out within minutes of being exposed to air, and if it dries before you butter it, cracking is inevitable. Understanding this one fact is the key to fixing everything that can go wrong.
Here’s what causes cracking and crumbling:
- Dry phyllo sheets — not buttered fast enough before layering
- Too few layers — single-layer cups have zero structural integrity
- Overbaking — even a minute too long at high heat makes them brittle
- Skipping the thaw — frozen phyllo that goes straight to work instead of thawing slowly
Step 1: Thaw Phyllo the Right Way
This is the step most people rush — and it’s the one that matters most.
- Refrigerator thaw: Move the frozen package to the fridge the night before. This is the gold-standard method.
- Counter thaw: If you’re short on time, leave it sealed at room temperature for 2 hours. No shortcuts beyond that.
- Never microwave it. Ever. Not even for 10 seconds.
Once thawed, keep the sheets covered with a barely damp kitchen towel while you work. Phyllo exposed to air for more than 2–3 minutes will start drying and cracking before you even touch it.
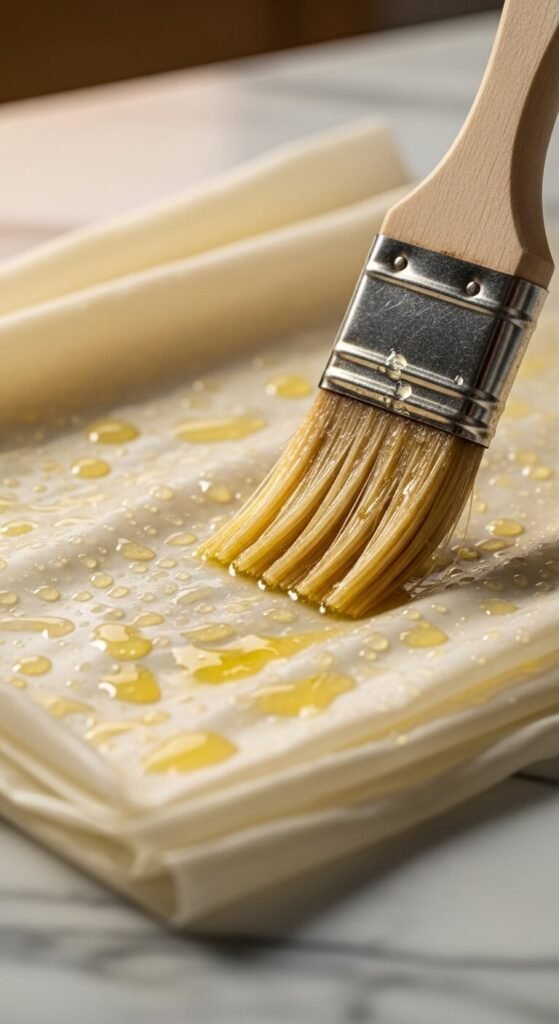
Step 2: Butter Every Single Layer
This is non-negotiable. Butter is the glue, the moisture barrier, and the flavor all in one.
How to do it:
- Lay one phyllo sheet flat on a clean surface.
- Brush it completely with melted butter — corner to corner, no dry spots.
- Lay a second sheet directly on top and butter again.
- Repeat for 4–5 layers total. This is your minimum for a cup that holds its shape.
Use clarified butter or a 50/50 mix of melted butter and neutral oil for the crispiest, most golden result. The milk solids in regular butter can burn — especially in a muffin tin where heat concentrates.
Step 3: Cut and Press Into the Tin
Once your layered phyllo stack is ready, cut it into squares. The size depends on your tin:
- Mini muffin tin: Cut 3-inch squares
- Standard muffin tin: Cut 5-inch squares
Press each square gently into the tin, letting the edges ruffle naturally — those little folds give the cups their classic look and add structure. Don’t stretch or pull the dough; just guide it down.
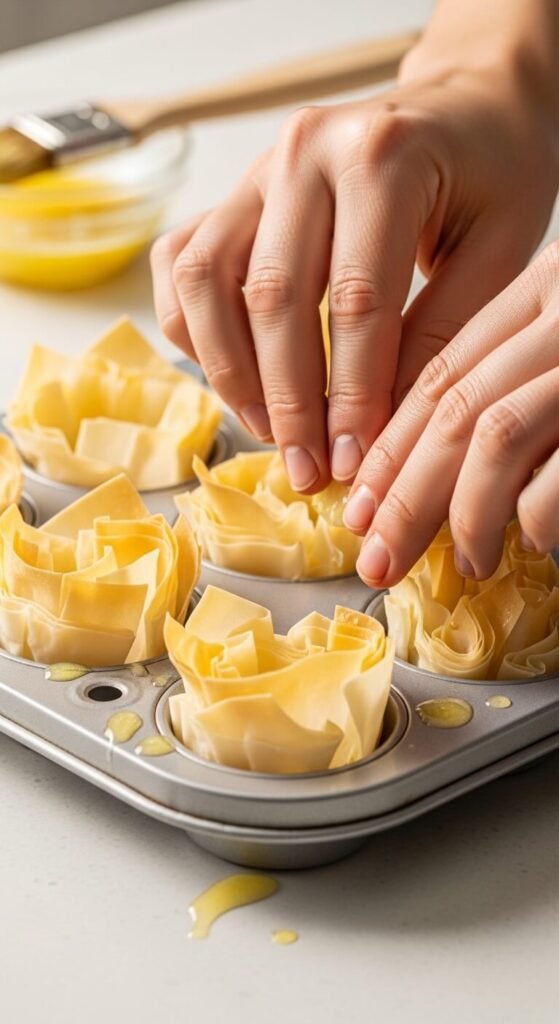
Lightly brush the inside of each pressed cup with one final coat of butter before baking.
Step 4: Bake Low and Slow — Then Watch Closely
Most recipes say 375°F (190°C), but 350°F (175°C) for 10–12 minutes gives you more control and a beautifully even golden color without the risk of over-browning.
Tips for the oven:
- Place the muffin tin on the middle rack for even heat circulation.
- Check at the 8-minute mark — oven temperatures vary more than you think.
- You want deep golden, not pale yellow (underdone = soft and collapsed) and not brown (overdone = bitter and brittle).
Let them cool in the tin for 5 minutes before lifting them out. They firm up significantly as they cool.
Step 5: Fill at the Right Time
Here’s the most overlooked secret: filling too early ruins everything.
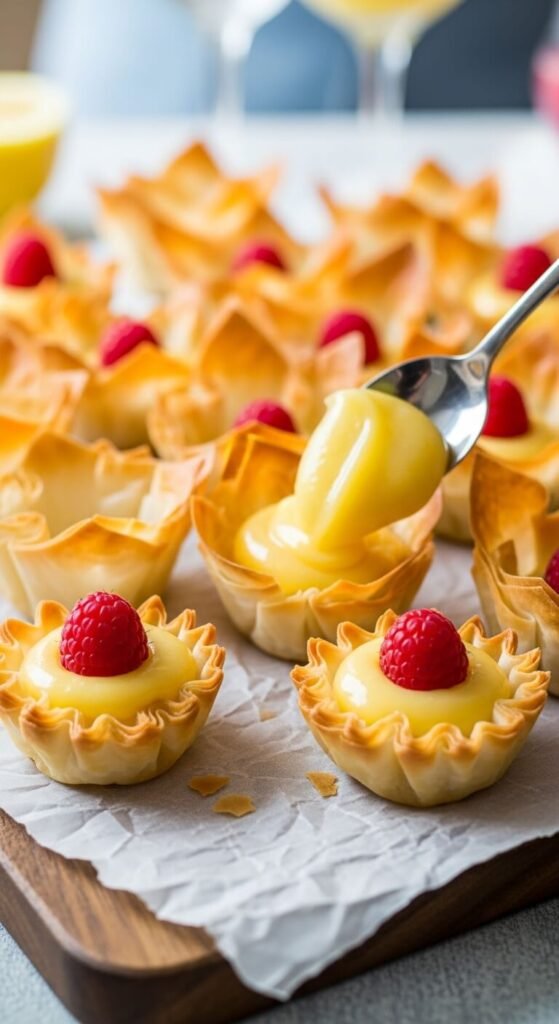
- For cold fillings (mousse, cream cheese, curd): Fill no more than 30 minutes before serving.
- For warm fillings (spinach dip, egg, sautéed mushrooms): Add the filling just before going back into the oven for a final 5-minute warm-through.
- Never fill and refrigerate overnight — moisture from the filling will seep into the shells and turn them soggy.
If you need to prep ahead, bake the cups and store them in an airtight container at room temperature for up to 2 days.
Quick Troubleshooting Guide
| Problem | Likely Cause | Fix |
|---|---|---|
| Cups crack while baking | Dry phyllo, too few layers | Work faster, add 1–2 more layers |
| Cups collapse after filling | Underbaked | Bake until deeply golden |
| Soggy bottoms | Filled too early | Fill right before serving |
| Uneven browning | Hot spots in oven | Rotate tin halfway through baking |
The Takeaway
Phyllo cups are one of those recipes where the difference between disaster and perfection is just a handful of small habits: a slow thaw, generous butter, enough layers, and patient timing with the filling. Once you get the rhythm, they come together incredibly fast — and they look like something from a catering spread.
Save this article for your next dinner party, holiday spread, or appetizer night — and tag your creations when those perfect little cups finally stay in one piece! 🥂