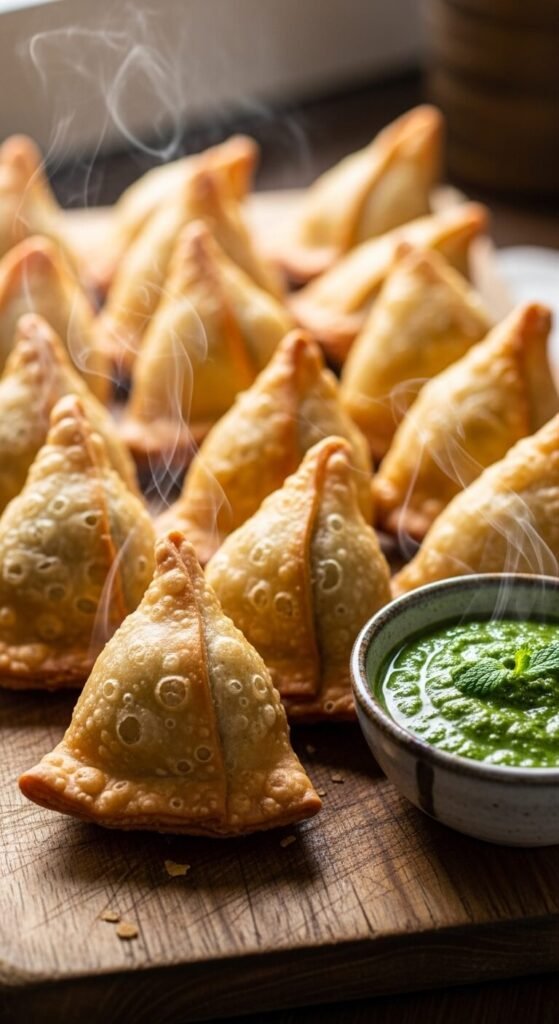
Imagine biting into a samosa — that satisfying crunch as the golden shell shatters, giving way to a warmly spiced, pillowy potato filling. If you’ve ever tried making samosas at home and ended up with soggy, chewy pastry instead of that iconic crispy shell, this guide is for you. The secret isn’t magic — it’s a few simple techniques that most recipes never mention.
What Makes Samosa Pastry Truly Flaky?
Most home cooks focus entirely on the filling and treat the dough as an afterthought. Big mistake. The pastry is the samosa.
The key to flaky, crispy samosa dough comes down to three things:
- Fat-to-flour ratio — You need enough oil or ghee to create those distinct layers.
- Minimal water — Too much water develops gluten, leading to soft, bready dough instead of shatteringly crisp pastry.
- Rubbing technique — The fat must be worked into the flour until it resembles coarse breadcrumbs before any water is added.
Think of it like shortcrust pastry — the goal is to coat the flour in fat so that gluten can’t form freely. Less gluten = more crunch.
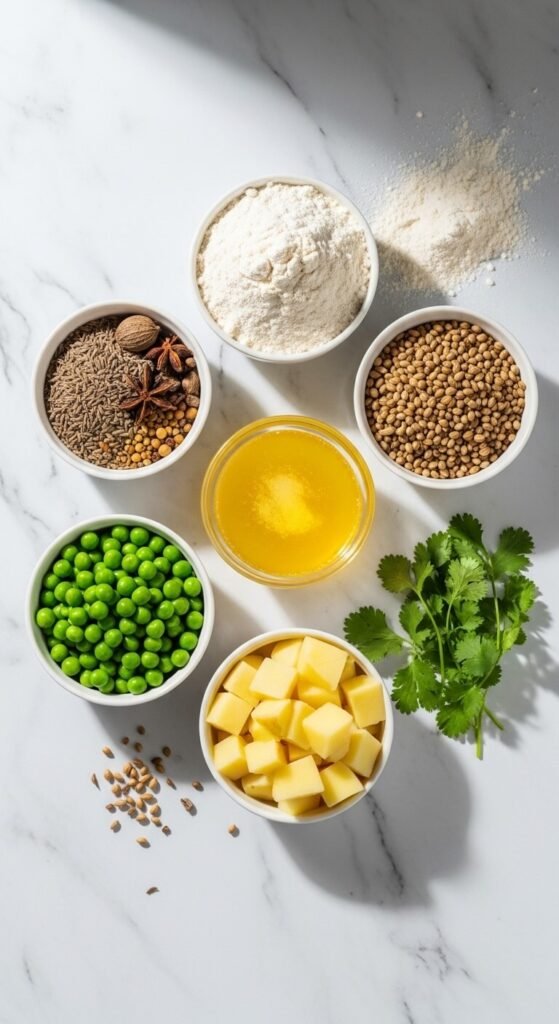
Ingredients You’ll Need
For the pastry (makes about 12 samosas):
- 2 cups all-purpose flour
- ½ tsp salt
- ½ tsp ajwain (carom seeds) — the underrated hero of samosa dough
- 5 tbsp oil or melted ghee
- 5–6 tbsp cold water (add gradually)
For the classic potato filling:
- 3 medium potatoes, boiled and roughly mashed
- ½ cup green peas (fresh or frozen)
- 1 tsp cumin seeds
- 1 tsp garam masala
- 1 tsp dry mango powder (amchur)
- ½ tsp red chili powder
- Salt to taste
- 2 tbsp oil
- Fresh coriander, chopped
Step 1: Make the Dough (Don’t Rush This)
Add flour, salt, and ajwain to a large bowl. Pour in the oil or ghee and use your fingertips to rub the fat into the flour. Keep rubbing until the mixture looks like coarse, slightly crumbly sand — this takes about 3–4 minutes.
Now add cold water, one tablespoon at a time. Mix with a fork, then your hands, until the dough just comes together. It should feel firm and smooth — not soft like bread dough. If it feels sticky, you’ve added too much water.
Wrap the dough tightly and let it rest for 30 minutes. Don’t skip this step — resting relaxes the little gluten that did form and makes rolling much easier.
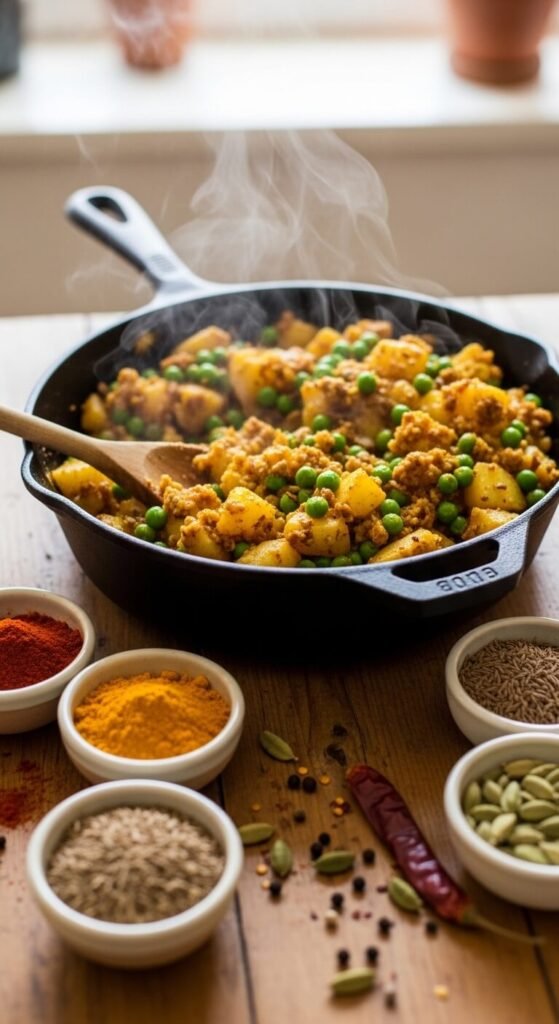
Step 2: Make the Filling
Heat oil in a pan and add cumin seeds. Once they sizzle, toss in your mashed potatoes and peas. Add all the spices and cook for 2–3 minutes, stirring well. Finish with fresh coriander. The filling should be dry — any moisture will make your pastry soggy from the inside out.
Let it cool completely before filling.
Step 3: Shape and Fill
Divide the dough into equal balls. Roll each one into a thin oval — about 6–7 inches long. Cut it in half to get two semi-circles.
Fold each semi-circle into a cone, pressing the straight edge together with a dab of water to seal. Fill the cone with 2 tablespoons of filling, then press and pleat the open top closed. Make sure there are no air pockets — trapped air causes samosas to puff and burst while frying.
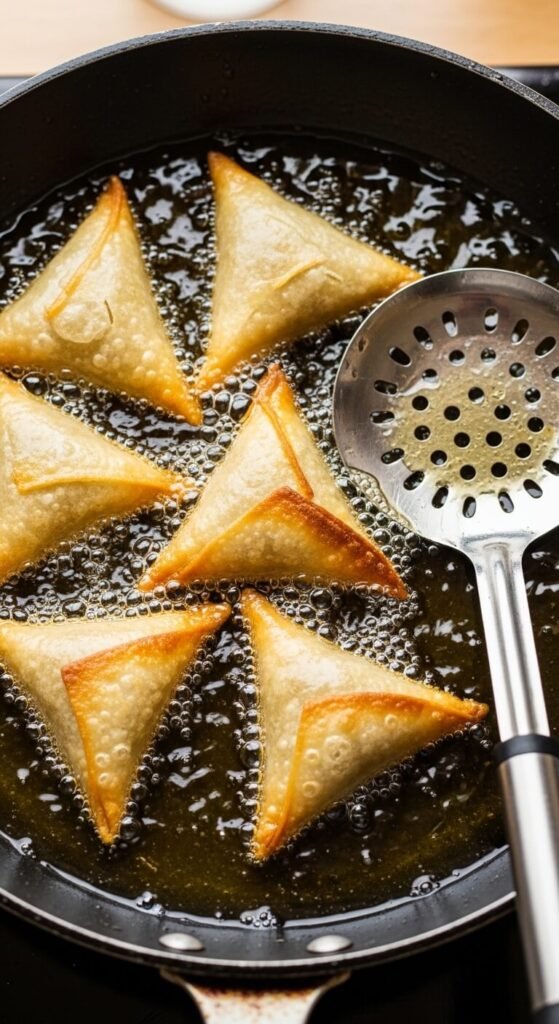
Step 4: Fry to Golden Perfection
Heat oil in a deep pan to 160–170°C (320–340°F). Lower heat than you’d expect — yes, really.
Slide in the samosas and fry on low-to-medium heat for 10–12 minutes, turning occasionally. This slow fry is the secret to that blistered, crispy exterior. High heat cooks the outside too fast and leaves the pastry pale and soft once it cools.
Drain on paper towels and serve immediately.
Tips for Next-Level Samosas
- Make ahead: Shaped, unfried samosas freeze beautifully. Fry straight from frozen — just add 2–3 extra minutes.
- Baked option: Brush with oil and bake at 200°C (390°F) for 25–30 minutes, flipping once. Slightly less crispy, but still delicious.
- Seal tightly: A loose seal = an exploded samosa. Press firmly and use a flour-water paste if needed.
- Don’t overcrowd the pan: Fry in batches to keep the oil temperature steady.
Serve It Right
Samosas are best eaten hot, paired with:
- Tamarind chutney for a sweet-tangy kick
- Mint-coriander chutney for a fresh, herby contrast
- A cup of masala chai, obviously
Homemade samosas with truly crispy pastry are 100% achievable — once you understand the dough technique and slow-fry method, you’ll never go back to store-bought. Save this recipe for later and tag a friend who needs to try these! 🫓✨