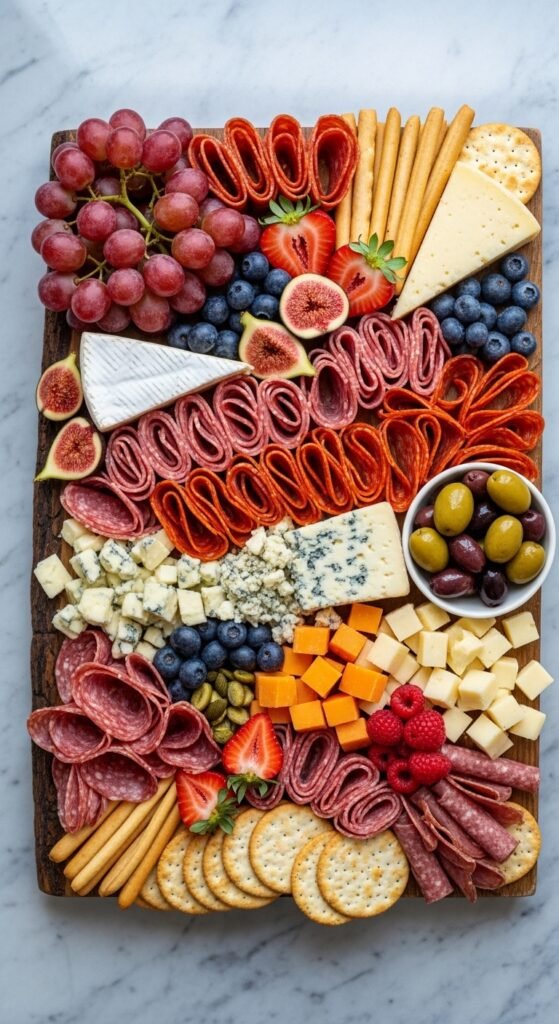
You spent an hour arranging that perfect charcuterie board. The mini caprese skewers are flawless. The stuffed mushrooms look like they belong in a magazine. And then… you open the container at the party and it’s a complete disaster. Sound familiar? Transporting appetizers beautifully is one of those underrated hosting skills nobody talks about — but everyone desperately needs.
Here’s the good news: with a few smart strategies, you can walk through that front door with appetizers that look exactly the way you intended. Let’s get into it.
Choose the Right Containers From the Start
The container is everything. The wrong one will shift, sweat, or crush whatever’s inside.
- Flat-bottomed containers with secure lids are your best friends for anything layered or stacked.
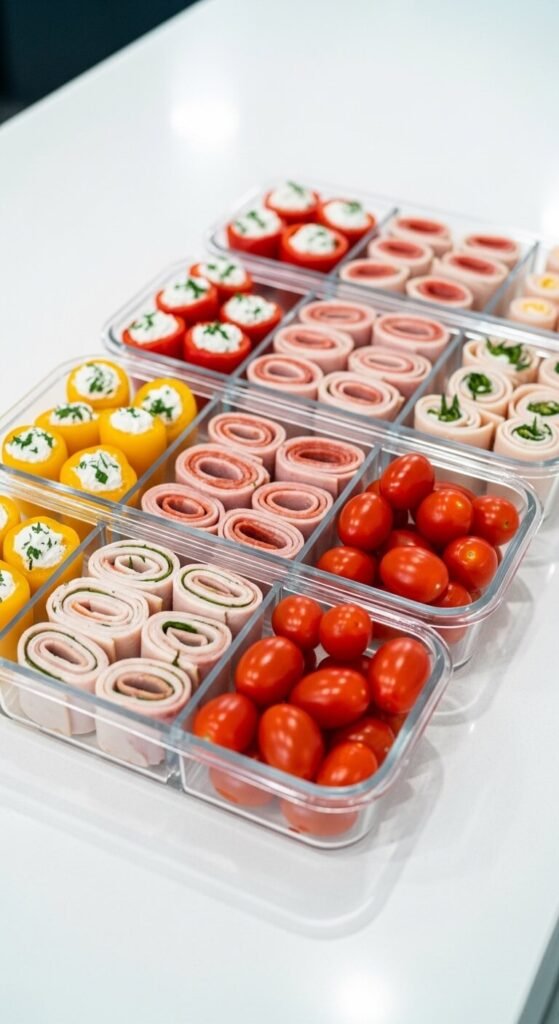
- Use compartmentalized containers (like bento-style boxes) for mixed appetizer platters — they prevent flavors and textures from bleeding into each other.
- For tall or skewered appetizers, look for deep containers so nothing gets snapped or squished by the lid.
- Avoid containers that are too large — extra space means extra sliding.
Pro tip: Line the bottom of your container with a damp paper towel or a silicone mat to keep items from moving during the ride.
Pack Sauces and Toppings Separately (Always)
This is the rule that saves everything. Never — and we mean never — pack wet toppings or dipping sauces directly on your appetizers before transport.
- Drizzles, vinaigrettes, and glazes should travel in small sealed jars or condiment cups.
- Garnishes like fresh herbs, microgreens, or pomegranate seeds go in a tiny zip-lock bag and get added on arrival.
- Anything crunchy (crispy onions, toasted breadcrumbs, crushed nuts) will go soggy if it touches moisture for more than 20 minutes.
Think of transport and presentation as two separate steps. Pack for safety, then style on arrival — it only takes 2–3 minutes to reassemble, and the results are stunning.
Use Skewers and Toothpicks Strategically
Skewered appetizers are actually easier to transport than loose ones — if you do it right.
- Stand skewers upright in a deep container filled with a layer of foam or a halved lemon to keep them stable.
- Alternatively, lay them flat on parchment paper layers inside a container, separated so they don’t stick together.
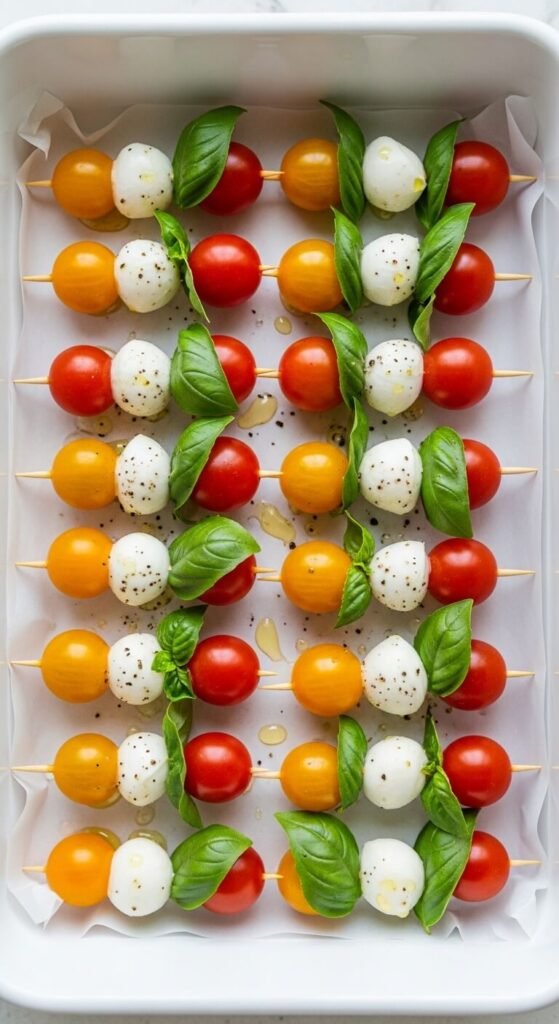
- Toothpick appetizers (like bruschetta bites or caprese stacks) travel best laid flat in a single layer with parchment between rows.
Temperature Control Is Non-Negotiable
Presentation isn’t just visual — a wilted, warm appetizer is never going to impress anyone.
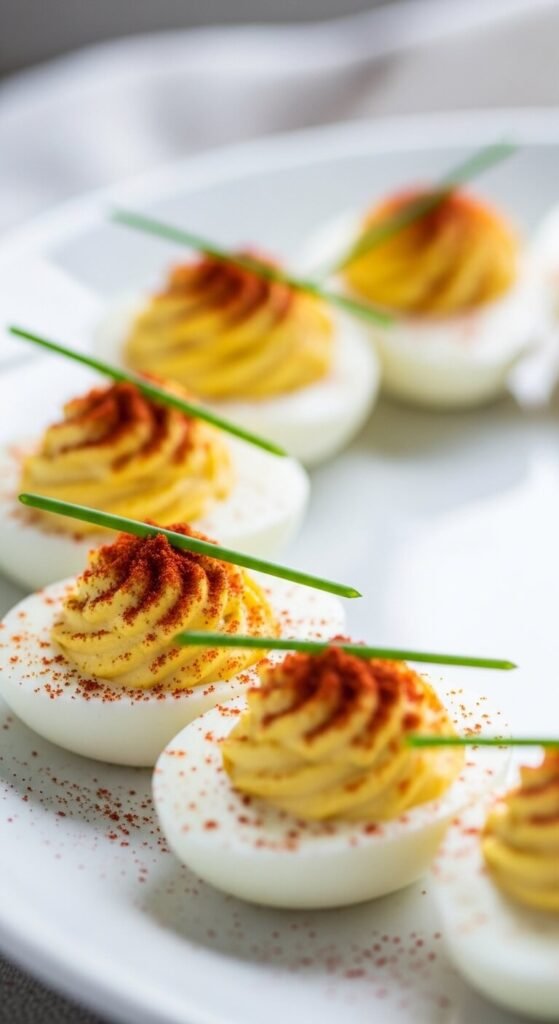
- Cold appetizers (shrimp cocktail, deviled eggs, chilled dips): Use an insulated bag with an ice pack tucked underneath or to the side, not directly on top of the food.
- Warm appetizers (meatballs, mini quiches, stuffed mushrooms): Wrap the container in a thick kitchen towel and place it in an insulated bag. They’ll stay warm for up to 45 minutes.
- For longer trips, consider transporting cold and reheating briefly at the destination — most ovens at 350°F for 8–10 minutes will revive warm appetizers beautifully.
Reassemble Like a Pro on Arrival
Give yourself 5 minutes when you arrive to make everything look intentional and fresh.
- Add your sauces, drizzles, and garnishes.
- Wipe down the edges of any serving platters.
- Fluff herbs, re-arrange any pieces that shifted, and add a final sprinkle of flaky salt or fresh cracked pepper if applicable.
Having a small travel kit makes this effortless: pack a spoon, a small offset spatula, extra toothpicks, and a few paper towels in a zip-lock alongside your food.
The Bottom Line
Transporting appetizers beautifully isn’t about luck — it’s about packing smart, separating components, and saving the styling for arrival. Once you build this habit, you’ll never show up to a party with a sad, collapsed platter again.
Save this guide for your next gathering and share it with a friend who always shows up with “deconstructed” appetizers by accident. 📌